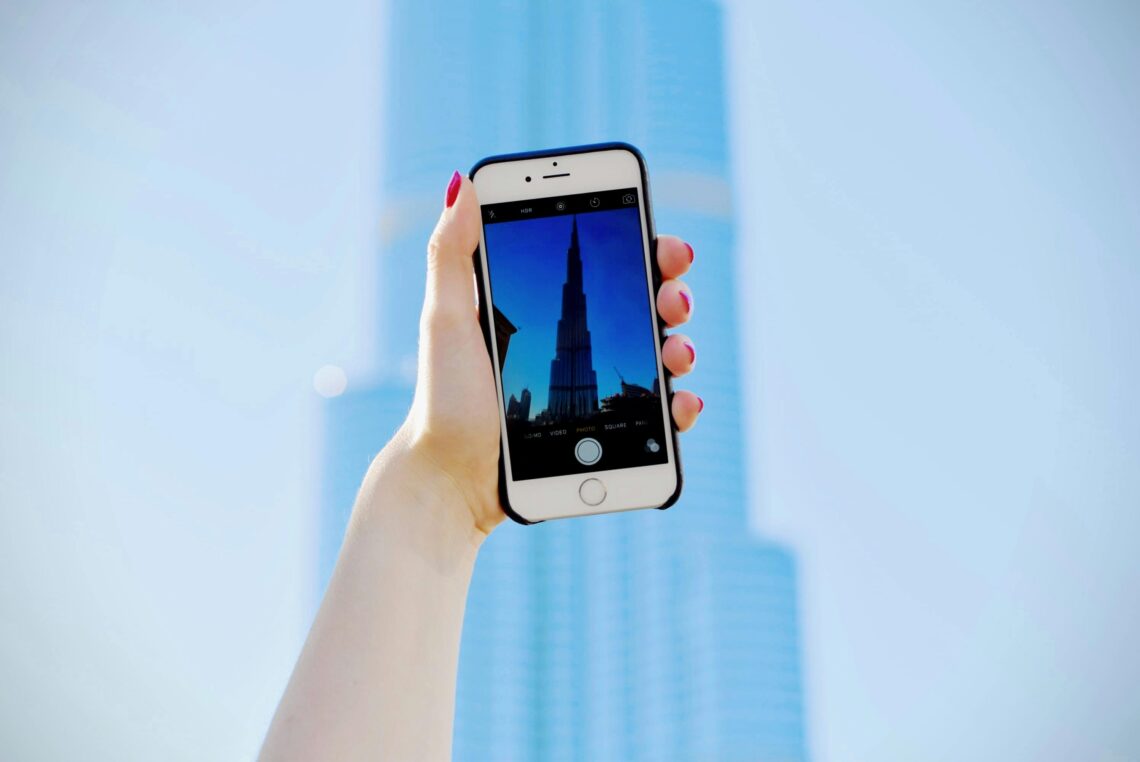
How to Take Better Photos With Your Smartphone: A Beginner’s Guide to Pro-Level Shots
Smartphones have come a long way from grainy, low-res images. Today, they’re powerful cameras in your pocket if you know how to use them right. Whether you’re capturing memories, building your social media presence, or just want better-looking photos, this guide will help you shoot like a pro using just your phone.
📱 1. Clean Your Lens – Seriously
This might sound obvious, but many people overlook it. A quick wipe with a microfiber cloth (or even your shirt in a pinch) can dramatically improve clarity. Dust, fingerprints, and smudges can make your photos look hazy.
🌅 2. Understand Lighting
Lighting makes or breaks a photo. Here’s how to make it work for you:
- Natural light is best: Shoot during golden hour (shortly after sunrise or before sunset) for warm, soft tones.
- Avoid harsh midday sun: It can cause shadows and overexposure.
- Face the light: For portraits, have your subject face the light source, not away from it.
💡 Tip: Use window light for indoor photos—it’s soft and flattering.
🎯 3. Use Gridlines for Better Composition
Most smartphones allow you to turn on gridlines. These help you follow the rule of thirds—a basic photography principle that breaks the image into nine parts. Placing key elements along these lines or intersections makes your photo more balanced and pleasing.
On iPhone: Settings → Camera → Grid → Turn On
On Android: Open Camera → Settings → Grid → Enable
🔍 4. Tap to Focus & Adjust Exposure
Smartphones automatically adjust focus and exposure, but you can take control:
- Tap the subject on your screen to focus manually.
- Slide up or down (depending on your phone) to adjust brightness/exposure.
This simple step improves clarity and ensures your subject is sharp and well-lit.
🤳 5. Ditch the Zoom
Zooming in digitally reduces quality. Instead:
- Move closer to your subject.
- Crop later during editing for better detail.
Digital zoom is not your friend. The closer you get physically, the better the resolution.
🎨 6. Keep It Steady
A shaky hand = blurry photos. Try this:
- Hold your phone with both hands.
- Anchor your elbows against your body.
- Use a tripod or even lean against a surface for stability.
Bonus: Use your volume button or voice control to take the shot without tapping the screen.
📷 7. Explore Different Angles
Don’t just shoot from eye level. Experiment with:
- Low angles to make subjects look taller or more dramatic.
- High angles for flatlays or stylistic shots.
- Close-ups for texture and detail.
Creativity in angle and perspective often makes an ordinary scene look extraordinary.
🛠 8. Edit — But Don’t Overdo It
Editing enhances your photos, but keep it natural. Use apps like:
- Snapseed (Android/iOS) – powerful and free
- Lightroom Mobile – professional-grade adjustments
- VSCO – filters and mood enhancements
Focus on:
- Brightness
- Contrast
- Sharpening
- Color balance
Avoid over-smoothing faces or extreme filters that distort reality.
🧠 9. Learn From Your Shots
Review your photos and ask:
- What worked?
- What didn’t?
- Was the lighting good?
- Was the focus sharp?
Over time, you’ll begin to notice patterns and improve automatically.
📚 Conclusion: Practice Is Everything
Smartphone photography is less about expensive gear and more about technique, creativity, and practice. Start applying these tips to your everyday photos—your pets, your coffee, your neighborhood—and you’ll quickly notice the difference.


